

Are you looking at your walls and dreaming of a fresh coat of paint? But before you dip that roller into the paint bucket, you have to do something crucial first —cleaning. Yes, it might not be the most thrilling part of redecorating, but it’s definitely a game-changer for the final look and durability of your paint job.
At Custom Painting Inc., we’ve handled our fair share of painting projects, and trust us, a well-prepared wall makes all the difference. So, grab a cup of coffee and walk through the essential steps to get your house ready for a dazzling makeover.
Why Cleaning is Essential
First things first: Why bother cleaning the walls meticulously before painting? Well, imagine painting over dust, grime, or even some grease. Not only would it be tough for the paint to stick, but it could also ruin the smooth finish you’re aiming for. Whether it’s the living room’s drywall, your kitchen’s wooden cabinets, or the metal railings on the balcony, each surface needs a little TLC before it meets the paintbrush.
It’s no secret that professional painters aren’t big fans of washing walls. They’re in the painting business, not the cleaning business. Washing walls can eat into the time they have for painting, which, in turn, can impact their earnings. If you expect your professional painter to prep the walls, be prepared to discuss additional compensation for this service. Alternatively, consider cleaning the wall yourself or hiring a cleaning service before the painter arrives.
Instead of a thorough wash, your painter will likely opt for a quicker method like pole-sanding the flat surfaces using fine-grit sandpaper. This light sanding is great for removing any superficial dirt and debris, deglossing surfaces for better paint adhesion, and smoothing out minor imperfections.
Situations Where Wall Washing Might Not Be Necessary
If you’re planning to paint the walls yourself and are considering skipping the wall washing step, ensure the surfaces meet most of these conditions:
- There’s no excessive dust accumulation.
- The walls are free of crayon marks, grease stains, and similar blemishes.
- The room doesn’t house a wood-burning fireplace.
- The walls aren’t frequently touched or rubbed against.
- There are no pets in the home.
- The space isn’t used for cooking or bathing (which means you should always wash walls in kitchens and bathrooms before repainting).
- You’re only dealing with vertical surfaces (horizontal surfaces like trim work and ledges should still be cleaned).
Rooms that often fit these criteria include:
- A less frequently used living room that was recently painted.
- A bedroom primarily used by adults.
- A dining room reserved solely for eating, not meal preparation.
- A home office.
- A well-maintained family room without a wood-burning fireplace.
- A powder room used just for brief visits and hand washing.
However, even in these situations, a basic wipe-down to remove loose dust is advisable to ensure optimal paint adhesion.
When Thorough Cleaning Is Required
Despite the possible shortcuts, most paint manufacturers still recommend cleaning walls with at least a mild detergent solution before painting. Today’s high-quality paints bond well to nearly any surface, but they perform best on walls that are not only smooth but also impeccably clean.
Choosing the Right Tools and Materials for Cleaning
Preparing your walls and surfaces properly before painting can make a significant difference in the outcome of your paint job. Using the right tools and materials not only makes the cleaning process easier but also more effective. Here’s what you need to consider:
1. Cleaning Solutions
- Mild Detergent
- Degreasers
- Mold and Mildew Removers
2. Scrubbing Tools
- Sponges
- Scrub Brushes
- Cloths and Rags
3. Sanding Supplies
- Sandpaper
- Sanding Blocks
- Power Sander
4. Safety Gear
- Gloves
- Goggles
- Masks
5. Miscellaneous Tools
- Bucket
- Ladder or Step Stool
- Extension Pole for Sponges or Mops
Step-by-Step Cleaning Guide Before Painting

Dust and Debris Removal
Before you can think about popping open that paint can, there’s an important first step that’s easy but crucial: removing dust and debris. Over time, walls accumulate a surprising amount of dust, pet dander, and other airborne particles, even if they don’t appear dirty. Painting over this layer can prevent the paint from adhering correctly, leading to uneven coverage and reduced durability.
- Start with dry dusting: Grab a microfiber cloth or a duster to gently wipe down the walls and ceilings. These materials are great because they trap dust instead of just moving it around. For higher areas, attach your cloth to a broom handle or use an extendable duster. Don’t forget to dust off ceiling fans, light fixtures, and any decorative moldings, as these are common dust collectors.
- Use a vacuum for textured surfaces: If your walls are textured, a simple duster might not do the trick. Using a vacuum cleaner with a brush attachment can be more effective.
- Tackle cobwebs: Cobwebs tend to gather in the corners of rooms and along the ceiling. You can clear these with a vacuum cleaner attachment or a broom wrapped in a microfiber cloth, ensuring that you capture the webs rather than just knocking them down.
- Clean air vents and return grills: Remove dust from any air vents and return grills in the painting area. This not only improves indoor air quality but also prevents dust from circulating back onto your freshly painted walls once the HVAC system is running again.
- Prepare for washing: Once all the dry dust and debris are removed, a quick inspection to identify any areas that might need special attention during the washing stage is a good idea. Look for fingerprints, scuffs, and other marks that might require extra cleaning efforts.
Always wear a dust mask or respirator during this process to avoid inhaling fine particles, especially if you’re sensitive to dust or have allergies. Safety goggles are also recommended to protect your eyes from dust particles.
Washing Walls
Once you’ve removed the loose dust and debris, the next critical step is to wash the walls. This not only removes the finer particles but also tackles stains and built-up grime that could interfere with the paint’s adhesion. Here’s how to get your walls squeaky clean:
- Choose the right cleaner: For most walls, a mild soapy solution works perfectly. You can create this by mixing a few drops of dish soap with warm water in a bucket.
- Use a sponge or cloth: Dip a soft sponge or cloth into your cleaning solution and wring it out well. The key is to make the wall damp, not wet, to avoid soaking the drywall. Gently wash the walls and pay extra attention to areas with visible marks or stains.
- Tackle grease in kitchens: Kitchen walls can be a hotspot for grease and tough stains, especially near the stove and countertops. For these areas, consider using a degreaser or a mixture of equal parts water and vinegar. Apply the solution with a sponge and let it sit for a few minutes before wiping it off. This will help break down the grease, making it easier to remove.
- Rinse the walls: After scrubbing, it’s important to remove any soap residue that could prevent the paint from adhering properly. Use a clean, damp cloth to gently rinse the walls. If you used a vinegar solution in the kitchen, make sure to thoroughly rinse those areas to avoid any lingering vinegar smell.
- Dry the walls: Ensure all surfaces are completely dry before beginning to paint. You can speed up the drying process by opening windows or using fans to circulate air. This is crucial as painting over damp walls can lead to paint blistering or peeling.
- Special considerations for bathrooms: In areas with high moisture, like bathrooms, you might encounter mildew. If this is the case, add a cup of bleach to a gallon of water for your cleaning solution. Apply it to the affected areas, scrub gently, then rinse and dry thoroughly. Always wear gloves and ensure the room is well-ventilated when using bleach.
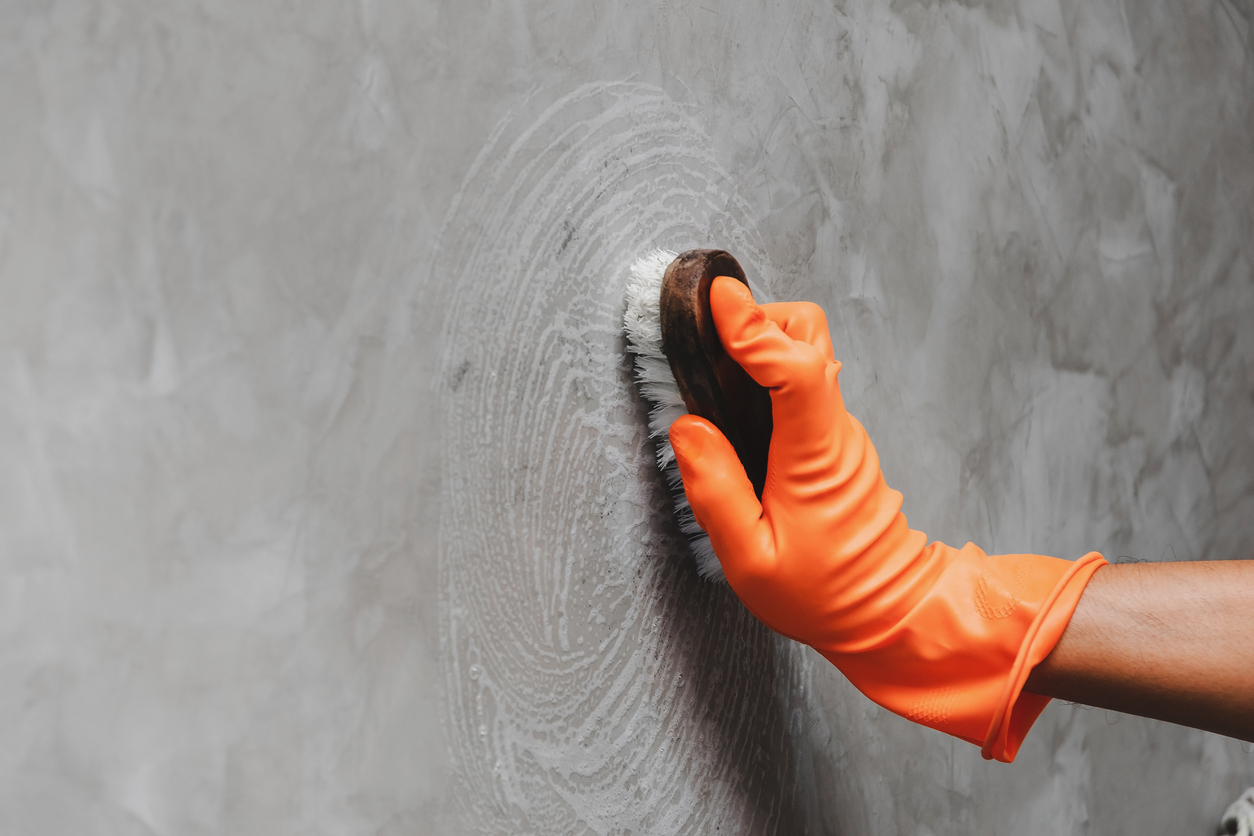
Sanding and Smoothing Surfaces
Sanding is a crucial preparation step that ensures a smooth, flawless finish for your new paint. Here’s how to effectively sand and smooth your walls and other surfaces:
- Choose the right sandpaper: Start by selecting the appropriate grit of sandpaper. For rough surfaces or removing flaking paint, begin with a coarser grit (around 80-100 grit). For smoothing out finer imperfections or over spackle, switch to a finer grit (120-220 grit). Using the right grit ensures efficient sanding without damaging the surface.
- Safety first: Always wear a dust mask or respirator to avoid inhaling dust particles. Safety goggles are also recommended to protect your eyes from flying debris. Ensure the room is well-ventilated to minimize dust accumulation.
- Use sanding tools: For small areas or delicate work, manual sanding with a sanding block is advisable as it gives you more control. For larger areas, a power sander can save time and effort. Be gentle with power tools to avoid gouging the surface.
- Sand the surface: Apply even pressure and sand in a circular motion or along the grain if you are working on wood. Avoid pressing too hard to prevent creating uneven surfaces. Regularly check your progress and stop when the surface feels smooth to the touch.
- Remove dust: After sanding, remove all dust from the surface with a clean, dry brush or cloth. You can also use a vacuum cleaner with a brush attachment to ensure all dust is gone. Finish by wiping down the surface with a slightly damp cloth to catch any remaining dust, which is crucial for good paint adhesion.
When to Call a Professional
If you’re looking up at a high ceiling or facing a wall that could double as a modern art piece of stains and cracks, it might be time to call in the pros. Custom Painting Inc. is here to help—whether you need a consultation to tackle a DIY project or a team of experts to take over the entire task.
Conclusion
Cleaning before painting is like laying down a perfect foundation for a stunning new building. It takes a bit of effort, but it’s absolutely worth it for that flawless finish. And if you feel like you might need an extra hand, don’t hesitate to reach out to us at Custom Painting Inc. We’re here to ensure your painting project goes as smoothly as your newly cleaned walls!
Contact us through our website or give us a call at 925-686-0903 —we’d love to help bring your vision to life with the perfect paint job!
