

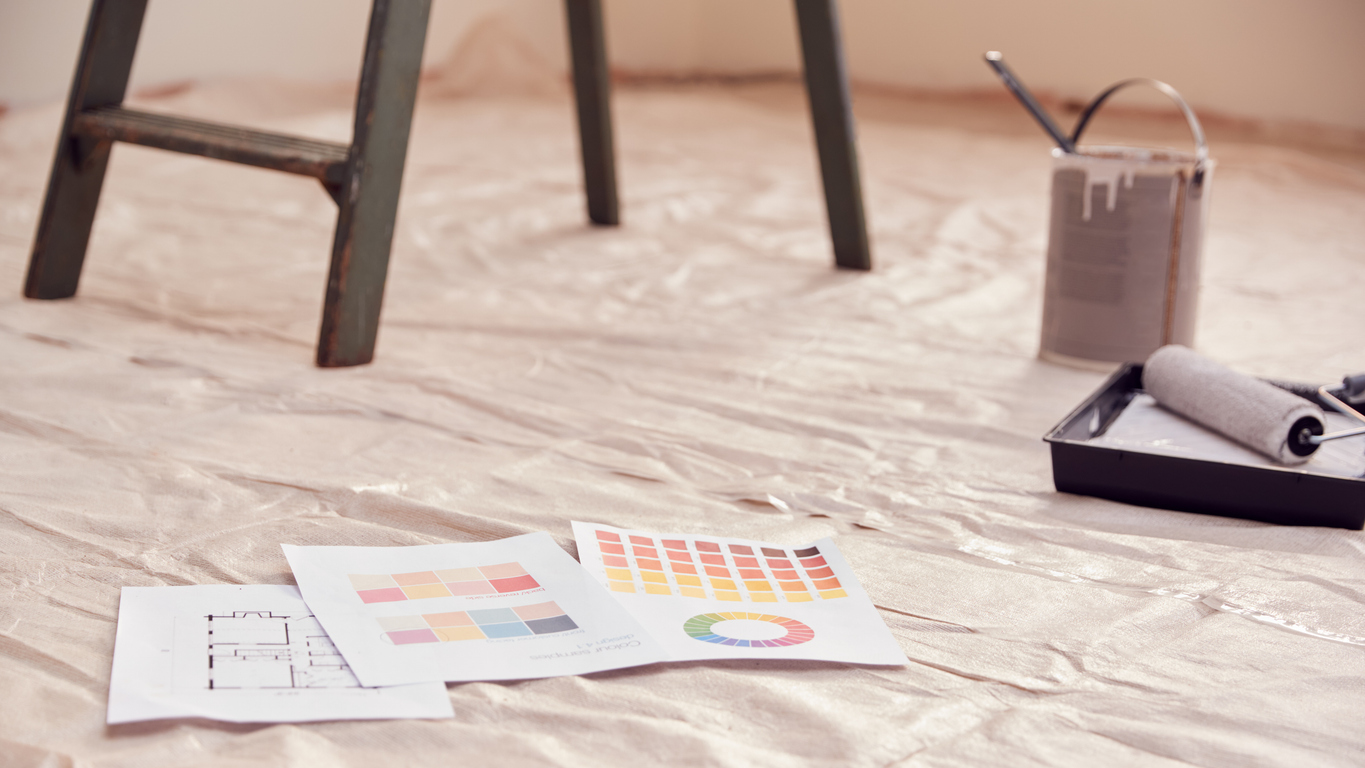
Preparation is the key to any successful Pleasant Hill, CA home improvement project. Even if you have the best paints and tools, they will not guarantee a smooth painting job if you skip preparing your surfaces before painting.
You might get excited to start painting, but you need to be patient – your paint will have adhesion problems or may get flaky quickly if you don’t prep. It might be boring, but it’s actually the most crucial part of a painting project for any Concord, CA area home. You also need to take into consideration other tasks such as acoustic ceiling removal, wood rot repair
Here’s how you can prepare your home’s interior for a fresh new paint:
1. Protect the area
Before you start, lay down dust sheets and protective covers on the floor. Remove the wall décor, hangings, and furniture from the room before doing any prep work. If the furniture is too heavy to put away, move it to the center of the room and cover it with protective sheets. Make sure that the room is well-ventilated as much as possible.
2. Clear out old hardware
Start by taking out all the nails, hooks, screws, and any other bits and pieces attached to your walls. If there’s any sticky tape or tacky putty, a scraper should do the trick to get it off. You want your walls smooth and free of any little bumps.
Don’t forget to take the covers off electrical sockets and light switches. If you can’t remove something, just cover it securely with painter’s tape. Stick any screws or bolts you remove onto the fixtures they came from with tape. That way, you won’t lose them, and you’ll save yourself a lot of time looking for them later.
3. Make some repairs
Next, tackle any holes or cracks. Clean them out before you start filling them to be sure the filler adheres well. A scraper can help widen the cracks, which will help the filler stick better.
Fill them with an epoxy filler or a spackling compound using a spackling knife. Be sure to allow the epoxy filler or the spackling compound to dry completely. Once dry, lightly sand the excess using medium-grit sandpaper or sanding block to make the surface smooth. These filled areas tend to soak up paint, so it’s a good idea to brush a little bit of your top coat paint over these spots first when it’s time for you to paint. This seals the filler and ensures you won’t see uneven patches later.
And if you’re dealing with cracks near where the walls meet the ceiling or moldings, consider using a flexible decorator’s caulk. It’s easy to apply with a caulking gun – once you use it, you’ll always want to have it on hand.
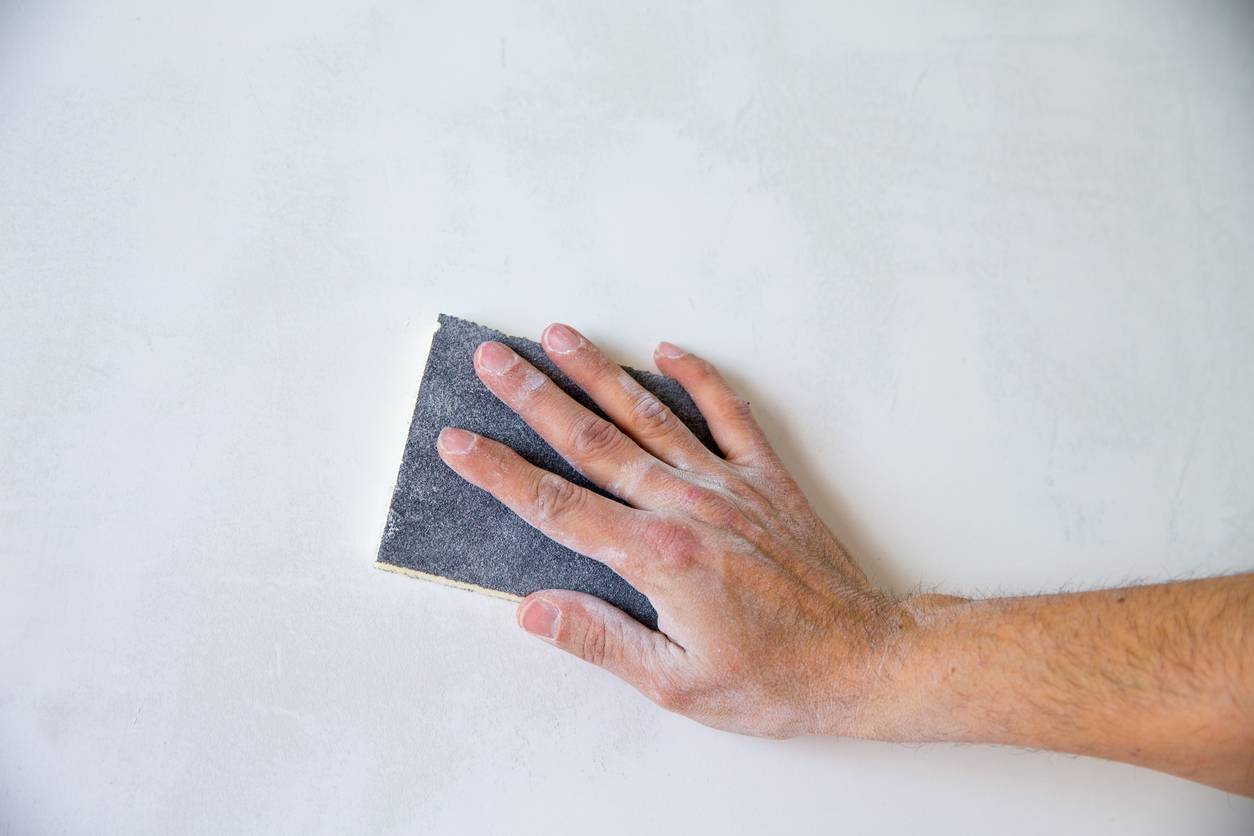
4. Sand the walls
Sand the places you’ve repaired to keep the surface smooth. Sanding the walls also helps the new paint stick better, especially if you already have glossy paint on them.
You can use a simple sanding block for this job, but an electric sander at slow speed is the way to go if you want to make your life a bit easier. Stick with 120-grit sandpaper and swap it out whenever it gets too dusty or stops working well. Start sanding from the top of the wall and work your way down. Be mindful of molding; they might need a finer grit to avoid damage.
If you find cracked or peeling old paint, remove it using a paint scraper, medium-grit sandpaper, sanding block, or electric sander. Make sure you have placed drop cloths along the floor to catch scraped old paint and dust.
5. Clean the walls
To ensure smooth and sufficient coverage, you have to clean the walls first. Sometimes, a simple dusting is enough, especially in low-traffic walls that are not visibly dirty. But when the walls have more than dust on them, wipe them with a wet rag.
Cleaning the walls in high-traffic areas like the kitchen and the bathroom would involve a more powerful cleaning agent. If you plan to paint your kitchen walls, wash them with detergent and a scrubber to remove grease, dried splatters, and other food residues. After cleaning the walls, rinse them thoroughly and allow them to dry completely.
If you are going to paint your bathroom walls, it can be a lot trickier, as the walls may be even stained by mold and mildew. If that’s the case, wash off the walls with a bleach solution of one part bleach and three parts water.
If you use water and cleaners for your walls, wait for them to dry completely before moving on to the next step.
6. Prime your walls
Whether or not you use the primer depends on different factors. There are also different types of primers for specific applications. For instance, use a bonding primer if the walls are covered with glossy, oil-based paint and you intend to cover them with the new latex paint.
Use a stain-blocking primer to get rid of that annoying water stain on the walls. Alternatively, if you intend to paint your dark walls with light-colored paint, use a white primer to ensure that the old dark paint won’t bleed through the new light-colored paint.
New drywalls can absorb more paint than their share because they are faced with paper. Because paper is porous, it absorbs paint quite quickly. Priming the new drywalls prevents that from happening so that you can apply fewer coats of paint.
Final Word
Preparation is an essential step in painting walls. As a Lafayette, CA area homeowner, you can do it yourself before a professional painter arrives, making the painting process easier and smoother for them. This can help lessen your expenses, too, saving you money on labor charges. But always clear it first with your contractor so the tasks they are expected to do are clear to them.
If you need help transforming your interiors with paint, contact Custom Painting, Inc., and we can offer you a professional finish. With more than 40 years of painting experience, you can trust that you are getting the most of what you paid for. Call us at 925-686-0903 or leave us a message for a free estimate.
