
Many homeowners choose wood paneling to add warmth and character to homes, especially in older or traditionally styled interiors. However, as design trends evolve, more homeowners want to update or brighten these spaces.
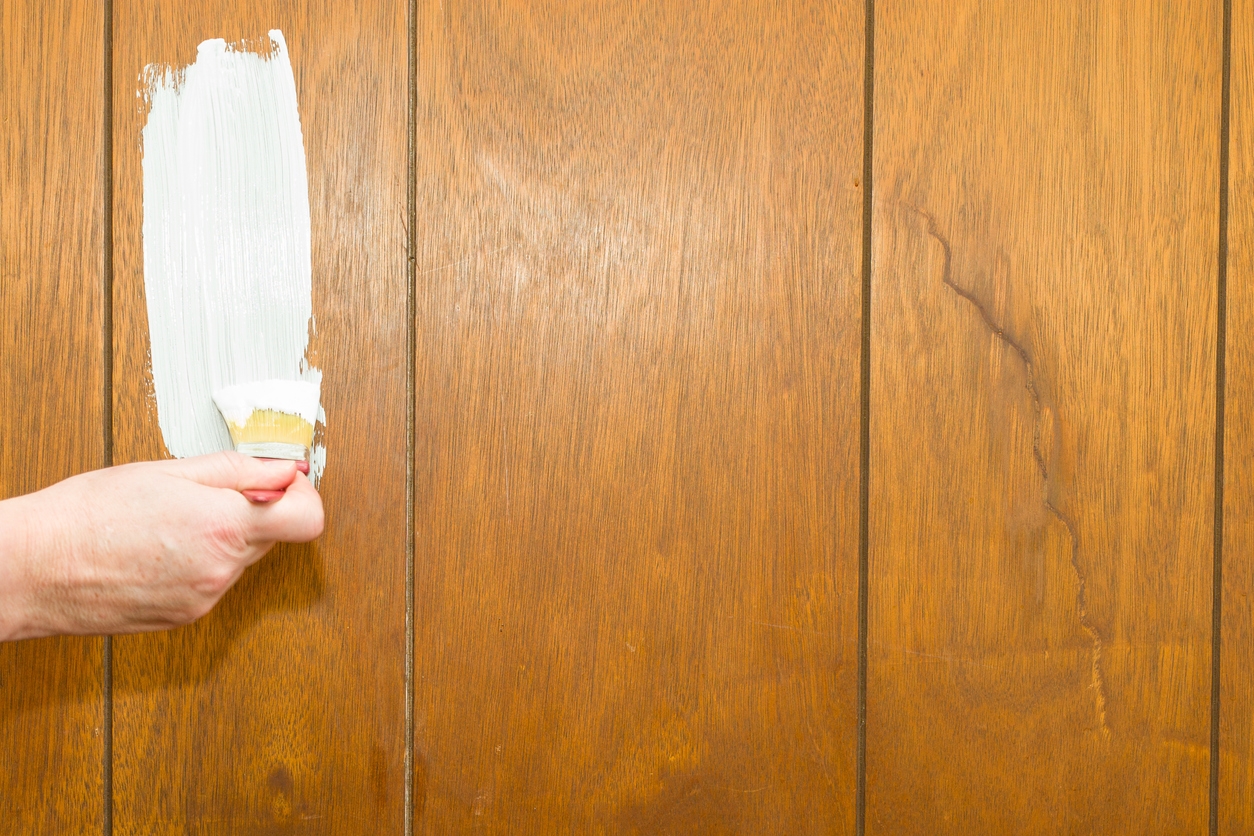
When it comes to dealing with wood paneling, painting offers a quicker, more cost-effective solution than removing it entirely. Painting allows you to retain the texture and durability of the paneling while giving it a fresh, modern look. On the other hand, removing paneling can be labor-intensive and may reveal issues with the underlying walls, making painting a more practical option for many.
Why choose to paint wood paneling?
Here are a few good reasons to choose to paint wood paneling instead of removing it:
Cost-effectiveness compared to removal and replacement
Painting wood paneling is a highly cost-effective alternative to removing and replacing it. The process of tearing out old paneling and installing new drywall or other materials can be expensive, involving costs for materials, labor, and potential repairs to the underlying structure.
In contrast, painting paneling requires minimal supplies—primarily paint, primer, and essential tools—which makes it significantly more budget-friendly. It is a significant advantage for those who want to update their home without committing to a lengthy project.
Time-saving benefits
Painting wood paneling is much quicker than removing it and starting from scratch. Removal and replacement can take days or even weeks, depending on the complexity of the job and the need for additional repairs. Painting, on the other hand, can often be completed within a few days, especially if the paneling is in good condition and needs a thorough cleaning and a few coats of paint. This is a major advantage for those who want to update their home without committing to a lengthy project.
Aesthetic transformation possibilities
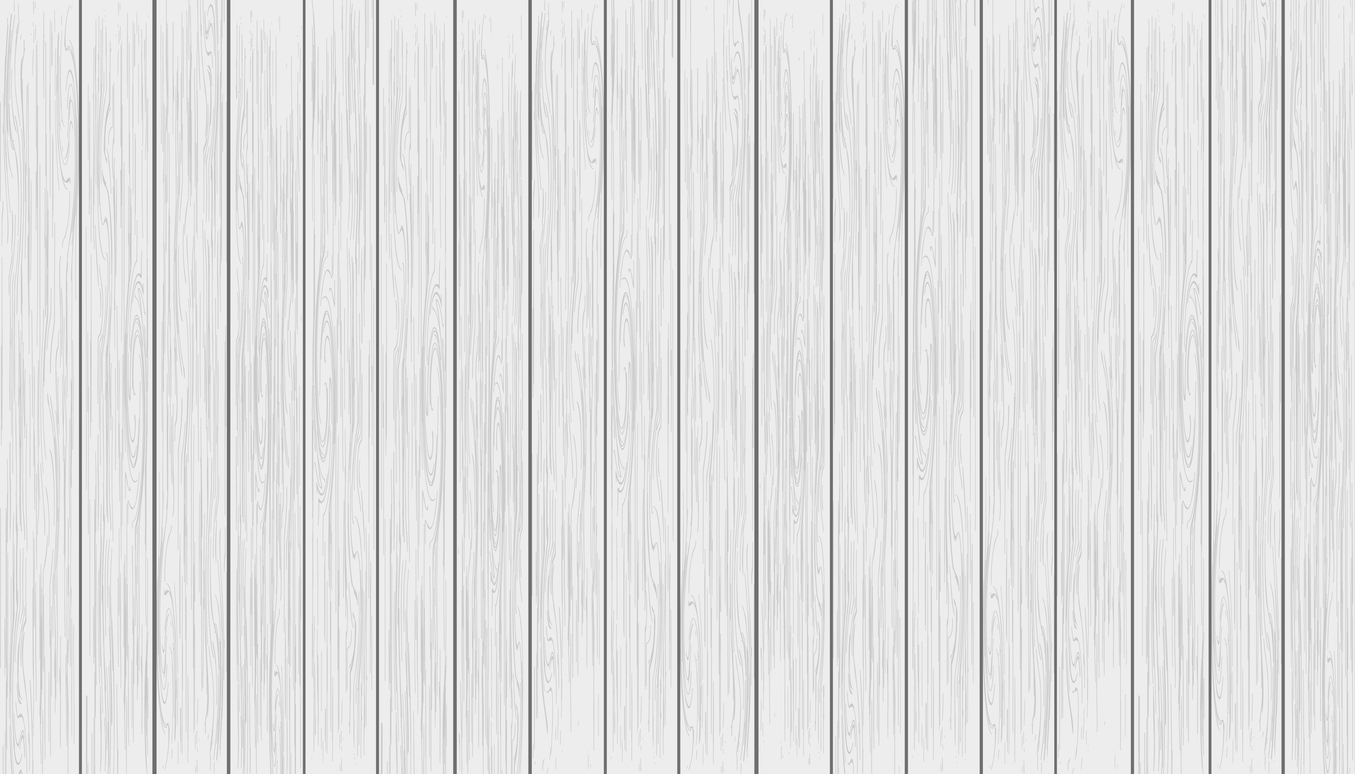
One of the most compelling reasons to paint wood paneling is the dramatic aesthetic transformation it can achieve. Painted paneling can brighten and modernize a room, making it feel more spacious and contemporary. You can choose colors to match your decor or create a specific mood.
For example, a soft white or light gray can create an airy, open feel, while a bold color can add character and depth. The texture of the paneling also adds visual interest, and painting allows you to keep this unique feature while giving the room a fresh, updated look.
Painting wood paneling is a practical and efficient way to revitalize a space, offering significant savings in both time and money while providing a versatile canvas for creative design choices.
Preparing Wood Paneling for Painting
1. Cleaning the paneling
Removing dirt, dust, and grime:
- Clean the wood paneling thoroughly to remove dirt, dust, or grime. This step is crucial because any debris left on the surface can affect the paint’s adhesion.
- Use a mild detergent mixed with warm water to wipe down the paneling. A sponge or a soft cloth works well for this purpose. If the paneling is too greasy or dirty, you might need a more potent cleaner like trisodium phosphate (TSP).
- After cleaning, rinse the paneling with clean water to remove any soap residue and let it dry completely before moving on to the next step.
2. Repairing any damage
Fixing Cracks, holes, and loose panels:
- Inspect the paneling for any cracks, holes, or loose panels. These must be repaired before painting to ensure a smooth and durable finish.
- For small cracks and holes, use a wood filler or putty. Apply the filler with a putty knife, pressing it into the damage and smoothing it out. Allow it to dry thoroughly before sanding it down to a smooth, even surface.
- If there are any loose panels, secure them by nailing or screwing them back in place. Countersink the nails or screws slightly below the surface, then fill over them with wood filler.
- After repairs are complete, lightly sand the filled areas to ensure they are flush with the surrounding wood.
3. Sanding and priming the surface
Sanding:
- Sanding is crucial to ensure proper adhesion of the primer and paint. It roughens the surface slightly, helping the primer adhere better.
- Use medium-grit sandpaper (around 120-150 grit) to sand the entire paneling surface. Focus on smoothing out rough spots and ensuring the filled areas blend seamlessly with the rest of the paneling.
- After sanding, vacuum or wipe down the paneling with a tack cloth to remove all dust, which can interfere with the primer’s adhesion.
-
Importance of primer for adhesion and smooth finish:
- Applying a primer is essential for several reasons. First, it provides a uniform base that helps the paint adhere better to the wood surface, preventing peeling or chipping. Second, it seals the wood, preventing tannins and other stains from bleeding through the paint. Lastly, it ensures a smooth and even finish, especially on darker or previously stained wood.
- Choose a high-quality, stain-blocking primer compatible with the type of paint you plan to use (oil-based or latex). Apply the primer with a brush or roller, ensuring even coverage across all surfaces.
- After the primer has dried (following the manufacturer’s instructions for drying time), lightly sand the surface again with fine-grit sandpaper (around 220 grit) to smooth out any brush or roller marks. Wipe away the dust with a tack cloth before applying the final coats of paint.
Taking the time to prepare your wood paneling will result in a professional-looking, long-lasting paint job.
Choosing the right paint and color
1. Types of paint suitable for wood paneling
- Latex paint: Latex paint is water-based, making it easy to clean up and quick to dry. It’s a popular choice for wood paneling because it’s durable, has low VOC (volatile organic compound) levels, and comes in various finishes. Latex paint adheres well to properly primed surfaces and is available in different colors.
- Acrylic paint: Like latex paint, acrylic paint is also water-based. But unlike latex, acrylic paint typically offers better durability and flexibility. It’s resistant to cracking and fading, making it a good option for areas exposed to sunlight. Acrylic paint works well on wood paneling when a durable and long-lasting finish is desired.
- Oil-based paint: Oil-based paint provides a smooth, durable finish and is known for its excellent adhesion to wood surfaces. It’s particularly suitable for high-traffic areas or where a glossy, hard-wearing finish is required. However, oil-based paint takes longer to dry, has higher VOC levels, and requires solvents like mineral spirits for cleanup.
2. Factors to consider when selecting colors
- Room size: Lighter colors can make a small room appear larger and more open, while darker colors can create a cozy, intimate atmosphere but might make a small room feel cramped. For large rooms, darker or richer hues can add warmth and depth.
- Lighting: Natural and artificial light significantly affect how colors appear. Rooms with plenty of natural light can handle darker colors without feeling too enclosed. In contrast, rooms with limited natural light might benefit from lighter, brighter shades to enhance the available light. Consider how the color changes under different lighting conditions throughout the day.
- Desired ambiance: The mood you want to create will guide your color choices. Warm colors like reds, oranges, and yellows create an inviting and energetic feel, while cool colors like blues, greens, and purples are usually more calming and relaxing. Neutral colors, such as whites, grays, and beiges, are versatile and can create a sophisticated and timeless look.
3. Testing Colors and Finishes Before Committing
Before painting the entire paneling, it’s wise to test the chosen color and finish on a small, inconspicuous area. Here’s how to approach this:
- Sample boards: Paint a few sample boards with your chosen colors and finishes. Move these boards around the room to see how the color looks in different lighting conditions and against various furnishings.
- Test patches: Apply a small amount of paint directly onto the wood paneling. Observe how the color changes as it dries and how the texture and grain of the wood affect the final look. This is particularly important for finishes like semi-gloss or satin, which can highlight imperfections in the wood.
- Consider multiple coats: Sometimes, the color may require more than one coat to achieve the desired depth and richness. Testing this beforehand will help you gauge how much paint you’ll need and ensure the final result matches your vision.
Select the type of paint, consider the room’s characteristics, and test colors and finishes before committing. Following these steps helps you achieve a beautiful, long-lasting finish on your wood paneling that enhances the overall look and feel of the space.
Painting techniques
1. Tools needed for painting wood paneling
- Brushes: Use angled brushes for cutting in around edges, corners, and trim.
- Rollers: A 3/8-inch nap roller works well for the paneling’s surface, ensuring even coverage.
- Spray paint option: An airless paint sprayer can provide a smooth finish, especially for larger areas or detailed paneling.
- Additional tools: Sandpaper (medium to fine grit), painter’s tape, drop cloths, primer, and paint (typically latex or acrylic).
2. Step-by-step painting process
Preparation:
- Clean the paneling thoroughly to remove dirt, dust, and grease.
- Lightly sand the surface to create a better bond for the paint.
- Wipe away dust after sanding.
Priming:
- Apply a high-quality bonding primer suitable for wood.
- Use a brush for edges and corners, then roll the primer onto the paneling.
- Allow the primer to dry as per the manufacturer’s instructions.
Applying the first coat:
- After the primer has dried, apply the first coat of paint.
- Use a brush for cutting in and a roller for the main surface.
- If using a sprayer, apply in even, sweeping motions.
Drying time:
- Let the first coat dry completely, usually 4-6 hours, depending on the paint type and room conditions.
Additional coats:
- Lightly sand between coats with fine-grit sandpaper for a smoother finish.
- Apply 1-2 additional coats as needed, allowing proper drying time between each.
3. Tips for achieving a smooth and even finish
- Use quality paint: Higher-quality paint often provides better coverage and a smoother finish.
- Avoid overloading the roller or brush: Too much paint can cause drips and uneven texture. Load the roller evenly and apply thin, even coats.
- Maintain a wet edge: Work in small sections and keep a wet edge to avoid lap marks.
- Light sanding between coats: Lightly sanding between coats helps to smooth out imperfections and achieve a polished finish.
- Use a paint extender: A paint extender can help reduce brush and roller marks, especially when using latex paint.
Maintenance and longevity
Maintaining painted wood paneling involves a few key practices that can significantly extend its longevity and keep it looking fresh. Here’s a detailed breakdown:
Regular cleaning and care
- Dusting: Regularly dust the paneling with a microfiber cloth or duster to prevent the buildup of dirt and grime. Dusting also helps maintain the paint’s finish by preventing abrasive particles from scratching the surface.
- Gentle washing: Periodically clean the paneling with a soft sponge or cloth dampened with a mild soap solution (water mixed with a few drops of dish soap). Don’t use harsh chemicals or abrasive cleaners, which can damage the paint.
- Drying: After washing, dry the paneling with a clean, dry cloth to prevent water spots or moisture damage, which can lead to warping or peeling paint.
Touch-up techniques for minor damage
- Scratches and scuffs: For small scratches or scuffs, use matching paint and a small brush to touch up the damaged area carefully. If the paint is old, try to get a sample matched at a paint store.
- Filling holes: For minor dents or nail holes, use a wood filler that can be painted over. Once the filler dries, sand it smooth and apply a touch-up paint.
- Blending edges: When touching up, feather the paint edges into the existing paint to blend the new and old sections. This prevents noticeable lines or patches.
- Sealing: If the original paint has a glossy or semi-gloss finish, you might need to seal the touched-up area with a clear finish to match the sheen of the surrounding paneling.
Repainting schedule to keep paneling looking fresh
- Inspection: Regularly inspect the paneling for signs of wear, such as fading, peeling, or chipping. Areas exposed to direct sunlight or high traffic might need more frequent touch-ups or repainting.
- Repainting interval: Depending on the quality of the paint and the conditions in the room, repainting every 5-7 years is a general guideline. High-traffic areas may require more frequent repainting.
- Surface preparation: Before repainting, ensure the surface is clean and free of dust, grease, or mildew. Lightly sand the surface to promote adhesion of the new paint layer. Use a primer if you’re switching colors or the paint is significantly worn.
- High-quality paint: Use high-quality, durable paint specifically designed for wood paneling. This not only improves the finish but also extends the time between repainting cycles.
Additional tips
- Humidity control: Keep the room’s humidity level stable, as excessive moisture can cause the wood to expand, leading to cracks in the paint.
- Avoid excessive sunlight: Use window treatments to protect the paneling from direct sunlight, which can cause fading over time.
- Furniture protection: Be cautious when moving furniture or other heavy objects near the paneling to avoid accidental damage.
Follow these maintenance practices to keep painted wood paneling looking fresh and prolong its lifespan.
Conclusion
Painting wood paneling is an excellent option for transforming a room’s aesthetic without costly replacements. It offers a fresh, modern look while preserving the wood’s character and warmth.
Are you ready to revitalize your space with a professional touch? Look no further! Call Custom Painting, Inc. today. at 925-686-0903 or message us on our contact page. Our licensed and insured team will help you bring your vision to life with expert craftsmanship and attention to detail.
